Introducing the Raspberry Pi AI HAT+ 2: Generative AI on Raspberry Pi 5
A little over a year ago, we introduced the Raspberry Pi AI HAT+, an add-on board for Raspberry Pi 5 featuring the Hailo-8 (26-TOPS variant) and Hailo-8L (13-TOPS variant) neural network accelerators. With all AI processing happening directly on the device, the AI HAT+ delivered true edge AI capabilities to our users, giving them data privacy and security while eliminating the need to subscribe to expensive cloud-based AI services.
While the AI HAT+ provides best-in-class acceleration for vision-based neural network models, including object detection, pose estimation, and scene segmentation (see it in action here), it lacks the capability to run the increasingly popular generative AI (GenAI) models. Today, we are excited to announce the Raspberry Pi AI HAT+ 2, our first AI product designed to fill the generative AI gap.
Unlock generative AI on your Raspberry Pi 5
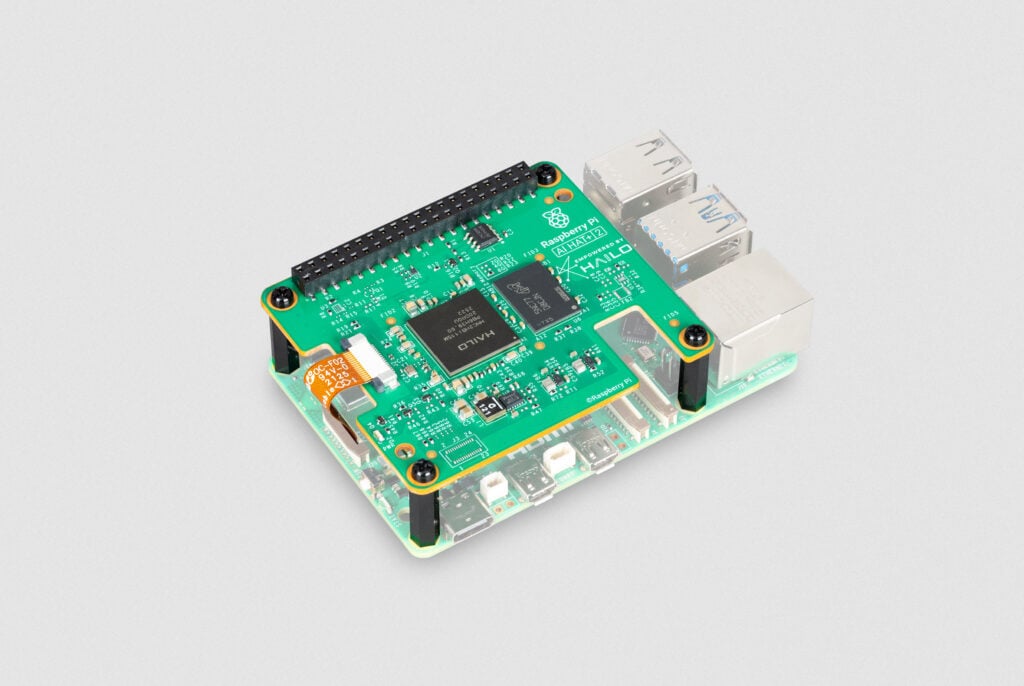
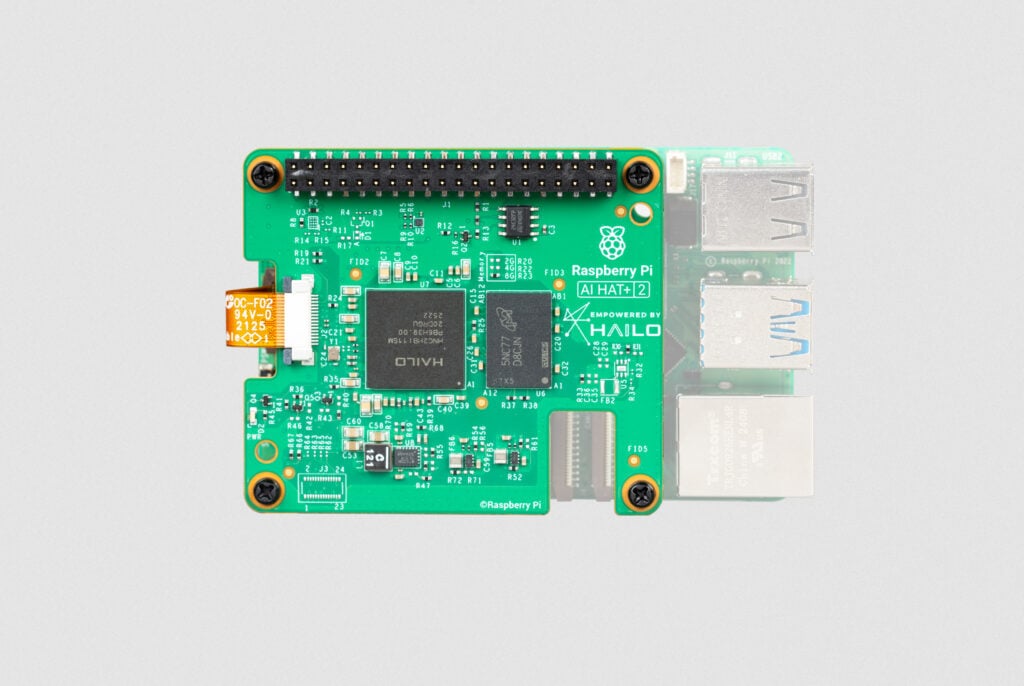
Featuring the new Hailo-10H neural network accelerator, the Raspberry Pi AI HAT+ 2 delivers 40 TOPS (INT4) of inferencing performance, ensuring generative AI workloads run smoothly on Raspberry Pi 5. Performing all AI processing locally and without a network connection, the AI HAT+ 2 operates reliably and with low latency, maintaining the privacy, security, and cost-efficiency of cloud-free AI computing that we introduced with the original AI HAT+.
Unlike its predecessor, the AI HAT+ 2 features 8GB of dedicated on-board RAM, enabling the accelerator to efficiently handle much larger models than previously possible. This, along with an updated hardware architecture, allows the Hailo-10H chip to accelerate large language models (LLMs), vision-language models (VLMs), and other generative AI applications.
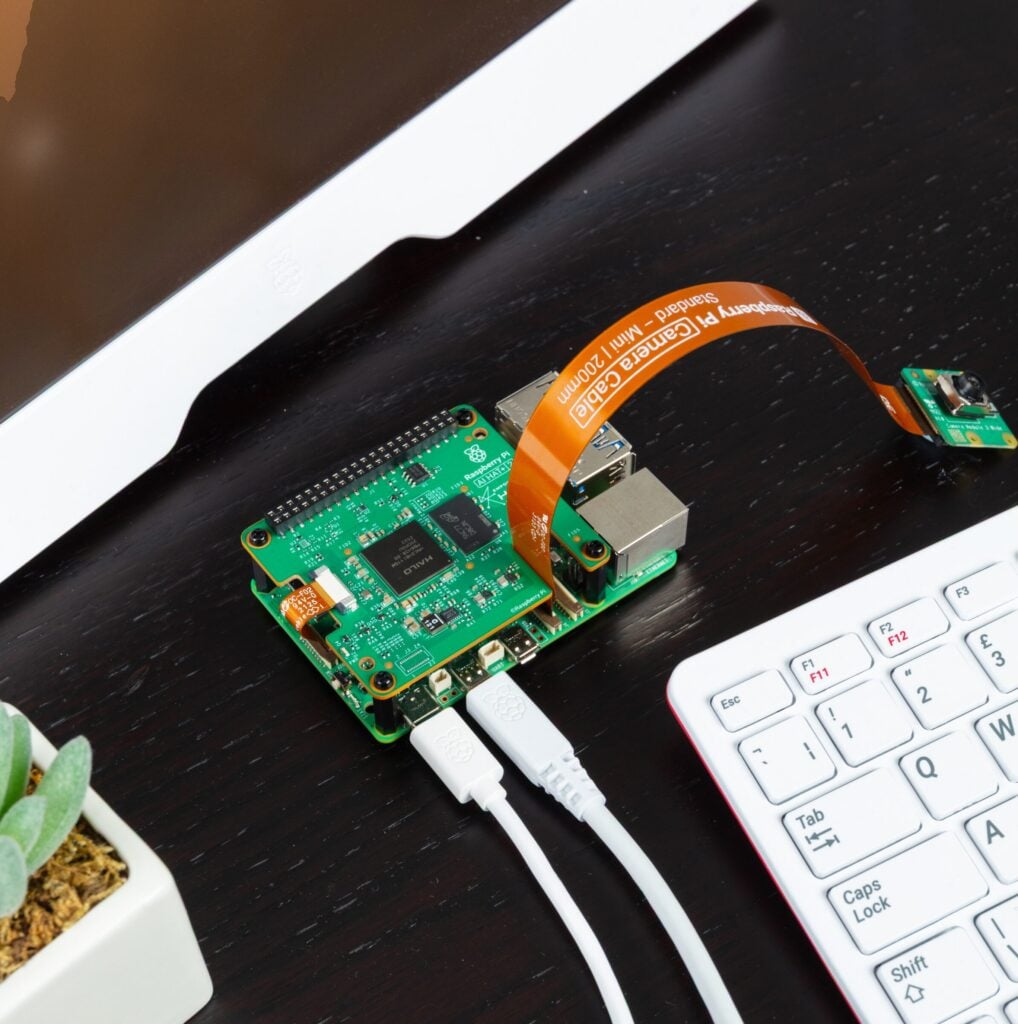
For vision-based models — such as Yolo-based object recognition, pose estimation, and scene segmentation — the AI HAT+ 2’s computer vision performance is broadly equivalent to that of its 26-TOPS predecessor, thanks to the on-board RAM. It also benefits from the same tight integration with our camera software stack (libcamera, rpicam-apps, and Picamera2) as the original AI HAT+. For users already working with the AI HAT+ software, transitioning to the AI HAT+ 2 is mostly seamless and transparent.
Some example applications
The following LLMs will be available to install at launch:
| Model | Parameters/size |
| DeepSeek-R1-Distill | 1.5 billion |
| Llama3.2 | 1 billion |
| Qwen2.5-Coder | 1.5 billion |
| Qwen2.5-Instruct | 1.5 billion |
| Qwen2 | 1.5 billion |
More (and larger) models are being readied for updates, and should be available to install soon after launch.
Let’s take a quick look at some of these models in action. The following examples use the hailo-ollama LLM backend (available in Hailo’s Developer Zone) and the Open WebUI frontend, providing a familiar chat interface via a browser. All of these examples are running entirely locally on a Raspberry Pi AI HAT+ 2 connected to a Raspberry Pi 5.
The first example uses the Qwen2 model to answer a few simple questions:
The next example uses the Qwen2.5-Coder model to perform a coding task:
This example does some simple French-to-English translation using Qwen2:
The final example shows a VLM describing the scene from a camera stream:
Fine-tune your AI models
By far the most popular examples of generative AI models are LLMs like ChatGPT and Claude, text-to-image/video models like Stable Diffusion and DALL-E, and, more recently, VLMs that combine the capabilities of vision models and LLMs. Although the examples above showcase the capabilities of the available AI models, one must keep their limitations in mind: cloud-based LLMs from OpenAI, Meta, and Anthropic range from 500 billion to 2 trillion parameters; the edge-based LLMs running on the Raspberry Pi AI HAT+ 2, which are sized to fit into the available on-board RAM, typically run at 1–7 billion parameters. Smaller LLMs like these are not designed to match the knowledge set available to the larger models, but rather to operate within a constrained dataset.
This limitation can be overcome by fine-tuning the AI models for your specific use case. On the original Raspberry Pi AI HAT+, visual models (such as Yolo) can be retrained using image datasets suited to the HAT’s intended application — this is also the case for the Raspberry Pi AI HAT+ 2, and can be done using the Hailo Dataflow Compiler.
Similarly, the AI HAT+ 2 supports Low-Rank Adaptation (LoRA)–based fine-tuning of the language models, enabling efficient, task-specific customisation of pre-trained LLMs while keeping most of the base model parameters frozen. Users can compile adapters for their particular tasks using the Hailo Dataflow Compiler and run the adapted models on the Raspberry Pi AI HAT+ 2.
Available to buy now
The Raspberry Pi AI HAT+ 2 is available now at $130. For help setting yours up, check out our AI HAT guide.
Hailo’s GitHub repo provides plenty of examples, demos, and frameworks for vision- and GenAI-based applications, such as VLMs, voice assistants, and speech recognition. You can also find documentation, tutorials, and downloads for the Dataflow Compiler and the hailo-ollama server in Hailo’s Developer Zone.
The post Introducing the Raspberry Pi AI HAT+ 2: Generative AI on Raspberry Pi 5 appeared first on Raspberry Pi.
from News - Raspberry Pi https://ift.tt/6HsAvfo
Labels: News - Raspberry Pi, IFTTT