It’s not a Nixie clock, it’s a Pixie clock
Our Maker In Residence intern, Louis, is spending the summer making all sorts of cool Raspberry Pi builds. Here, he tells us about his foray into NeoPixels to build a Pixie clock (that’s a Pi-powered Nixie clock).
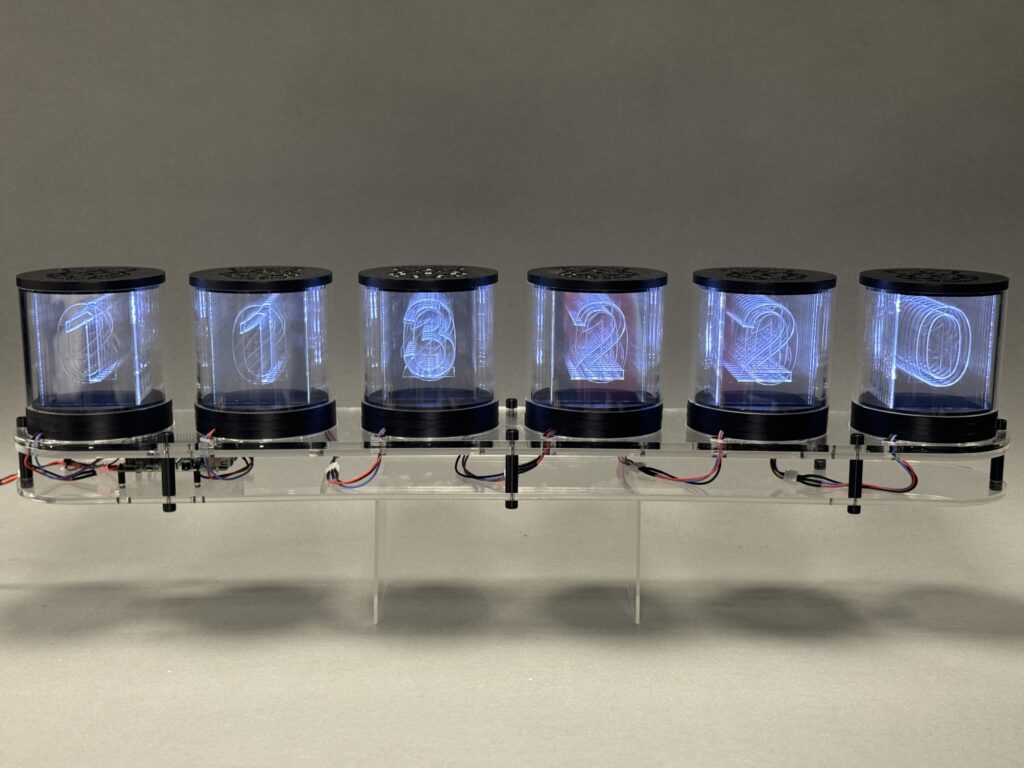
This project was inspired by Nixie tubes, an old technology used for displaying digits. The trouble with Nixie tubes is that they are quite dangerous, requiring 170 volts to produce their characteristic glow, and very expensive, since they are no longer mass produced. A safer, more modern approach is using LEDs to light the edges of engraved acrylic.
Electronics
The electrical design of this project is pretty simple, just using a single 300 LED-long strip of NeoPixels, a Raspberry Pi 4, and a 5V power supply. To provide ample current to the Raspberry Pi and the pixels, I went with an 8A supply.
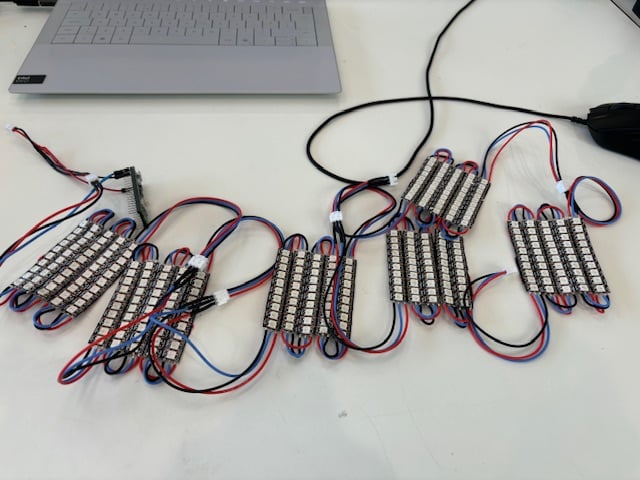
While there are only a few electrical components, a lot of soldering was required. The 300 LED-long strip needed to be cut into 30 segments, which I then soldered back together with short wires to allow the strip to snake. Between sets of strips, I soldered longer wires with crimped connectors for easy linking of tubes.
Tubes
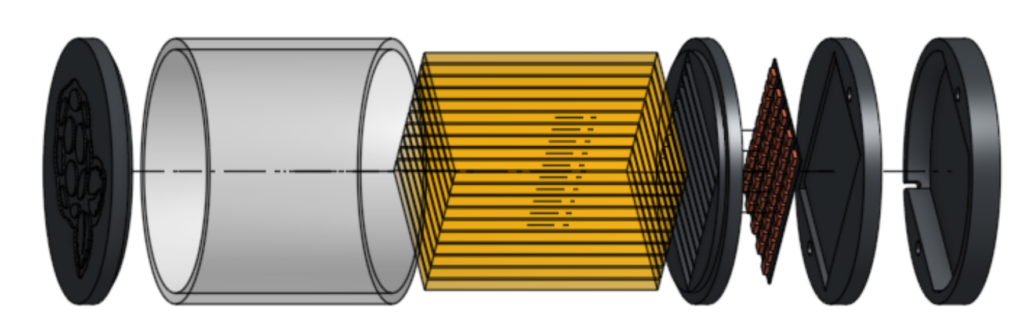
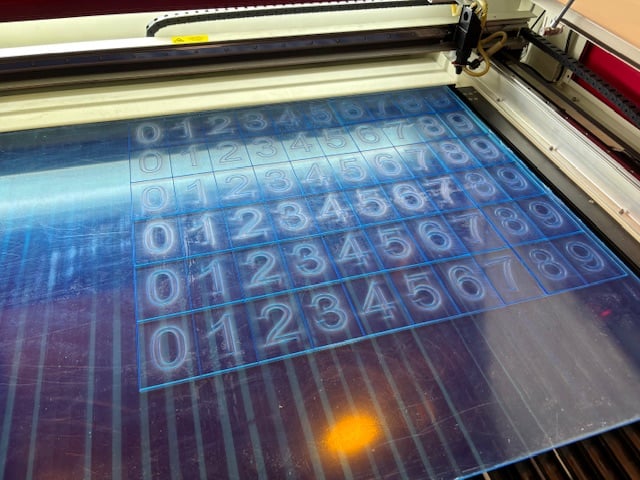
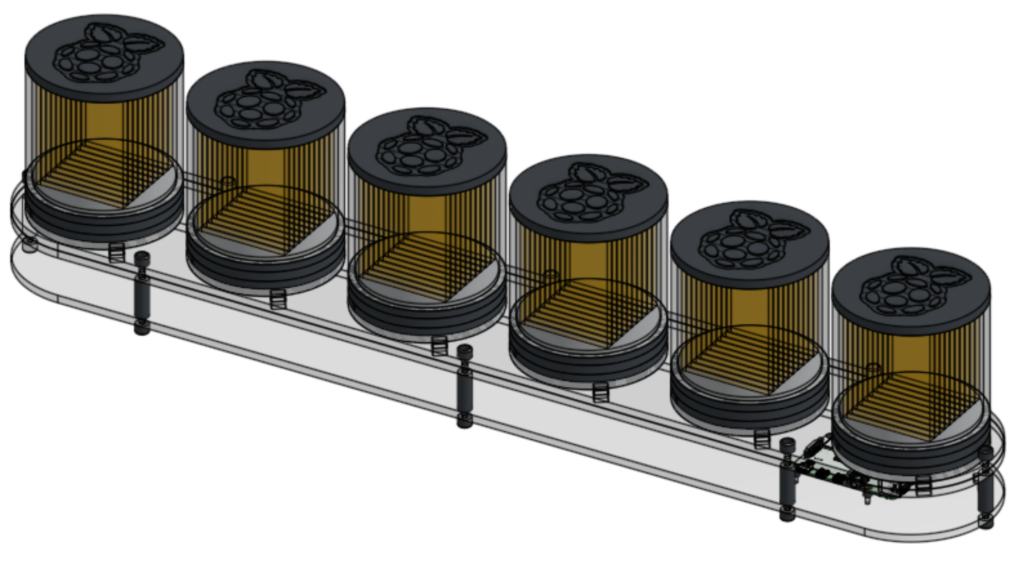
Each tube needs to display digits from 0 to 9, so each contains ten laser cut and engraved rectangles of acrylic. To provide more of a ‘tubey’ appearance, I surrounded the digits with a transparent cylindrical enclosure. All this acrylic is housed between two 3D printed discs. The LEDs sit below this assembly in their own 3D printed enclosure, and the two parts come together with recessed magnets for a clean look.
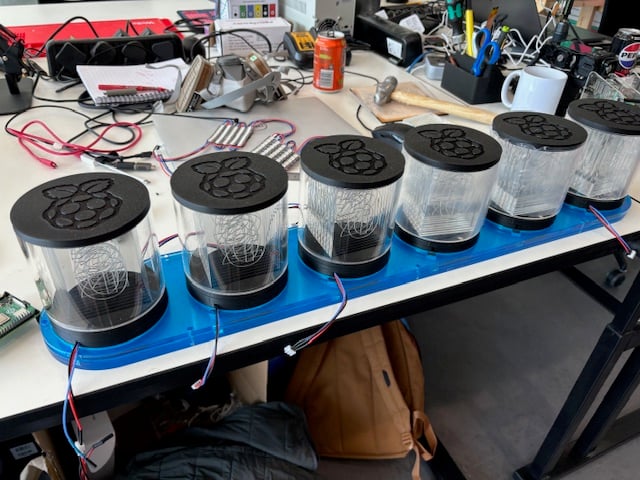
Base
Since I was building a clock to display hours, minutes and seconds, six tubes were required. To hold these in position, together with the Raspberry Pi, I laser cut a simple base from more acrylic, with 3D printed standoffs between the top and bottom.
Programming
I loaded the Raspberry Pi with a simple program, using datetime to fetch time information and then display it on the clock by lighting appropriate LEDs. Each digit has five LEDs associated with it, so I created arrays to make it easy to address the pixels for a particular digit. For example, one of these arrays looks like this:
h1 = [ [0, 19, 20, 39, 40], [1, 18, 21, 38, 41], [2, 17, 22, 37, 42], [3, 16, 23, 36, 43], [4, 15, 24, 35, 44], [5, 14, 25, 34, 45], [6, 13, 26, 33, 46], [7, 12, 27, 32, 47], [8, 11, 28, 31, 48], [9, 10, 29, 30, 49]]h1 means the array is for the first of the two hour digits. To light up the digit 7 for the first hour digit, you would turn on all the pixels in the list h1[7] [I don’t want to think about why you might need to show that it’s seventy-something hundred hours – Ed.]. The slightly strange pixel order is due to the way the NeoPixels snake their way through the clock design.
The clock is currently doing its regular job in the Maker Lab at Pi Towers, but our Head of Social asked if I could tweak the code to turn it into a likes counter for our TikTok account, so once I’ve managed to do that, it’ll have a whole new purpose.
The post It’s not a Nixie clock, it’s a Pixie clock appeared first on Raspberry Pi.
from News - Raspberry Pi https://ift.tt/1MGqmEp
Labels: IFTTT, News - Raspberry Pi

0 Comments:
Post a Comment
Subscribe to Post Comments [Atom]
<< Home