New RP2040 CMSIS Pack
Arm’s Common Microcontroller Software Interface Standard (CMSIS) initiative aims to standardise device support across many different vendors’ Cortex-M–based microcontrollers, and to provide simple software interfaces to the processor and its peripherals. Arm’s Windows-based µVision development environment uses CMSIS “pack” files to understand how to build and debug code on a given microcontroller.
To better integrate with the Arm ecosystem, we’re releasing a new CMSIS Device Family Pack (DFP) with support for Raspberry Pi Pico and Raspberry Pi Pico W. With this new DFP, you can now use these boards seamlessly with all of Arm’s CMSIS tools, including µVision. Our DFP includes the following:
- header files, startup code, and other support files
- software packages providing device-specific functionality

Instructions
To get started with the pack, download the latest version from GitHub. If you haven’t already installed µVision, follow Arm’s instructions here to install it. Then, follow the steps below to install the pack and run the examples:
- Open the µVision pack installer. Select File > Import, and import the pack you downloaded from GitHub.
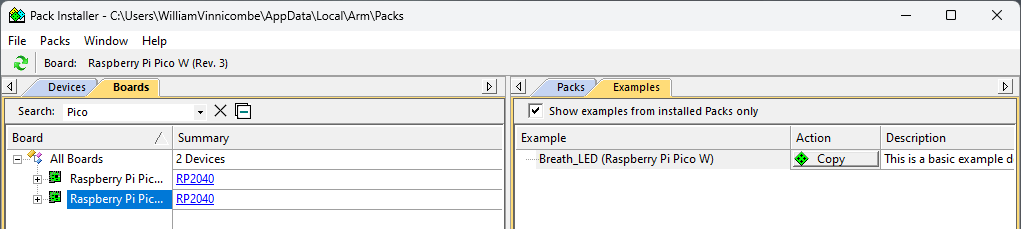
- Click on the refresh button to refresh the page; the pack should now be installed.
- Click on Boards in the left hand window, and then search for Pico. Click on either Pico or Pico W, depending on which board you are using.
- Click Examples in the right hand window and select the copy action next the the
Breath_LEDexample for your board:
- Select the folder you want to copy it into. Click OK to copy the example into the folder.
- Once the project loads, open
main.cto view the code. - If you’re using the Pico W example, set
YourWifiSSIDandYourWifiPasswordto appropriate values for your WiFi network. Alternatively, delete these lines from the example if you don’t want to connect to WiFi:

- Click Build (F7) to build the project – don’t worry about the
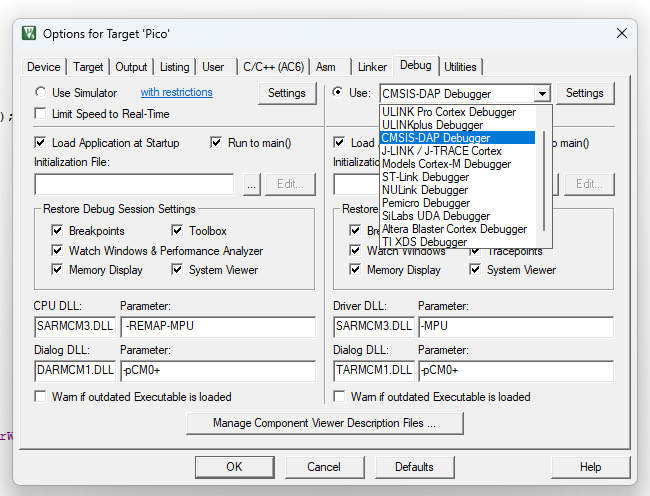
Warning: L6306Won Pico W. - To use a Raspberry Pi Debug Probe for debugging, update your Debug Probe to the latest firmware. Then, select Project > Options for target ‘Pico’ > Debug, then set Use to CMSIS-DAP debugger and click OK.
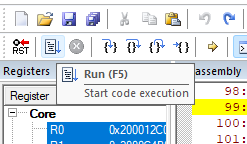
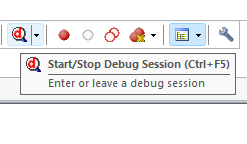
- To run the code, click Start/Stop Debug Session (Ctrl+F5), then hit Run (F5).
- To view printouts from the device, select View > Serial Windows > Debug (printf) Viewer. This will receive printouts over the SWD interface, so there’s no need to connect UART to your Pico.

For more information on using µVision, please refer to the comprehensive User’s Guide provided by Arm.
The post New RP2040 CMSIS Pack appeared first on Raspberry Pi.
from News - Raspberry Pi https://ift.tt/R8GKNqh
Labels: IFTTT, News - Raspberry Pi

0 Comments:
Post a Comment
Subscribe to Post Comments [Atom]
<< Home