Turn your Raspberry Pi into an AI agent with OpenClaw
The tech corners of the internet are buzzing with talk of OpenClaw, an open source AI agent. I’ve been playing around with it in the Maker Lab at Pi Towers for the past couple of weeks to find out what it’s really capable of.
By now, most of us are familiar with generative AI chatbots such as ChatGPT or Claude. These tools simulate conversation and generate responses based on prompts, using large language models (LLMs) to answer questions, write code, brainstorm ideas, or help analyse information. They’re incredibly useful — like having a knowledgeable assistant you can ask anything.
But traditional chatbots are fundamentally reactive; you ask a question, they respond. They can help you think through a problem, but the actual execution is still up to you.
This is where AI agents come in
OpenClaw takes the same generative AI capabilities and adds the missing piece: action. Instead of just generating text, an AI agent can use tools, run commands, interact with APIs, manage workflows, and carry out tasks on your behalf.
But, as Spider-Man wisely reminds us, with great power comes great responsibility. Installing OpenClaw on your main computer gives it deep access to your system, potentially allowing it to browse websites, fill in forms, and interact with personal data. That level of capability is incredibly powerful, but it can also pose a very real security risk.
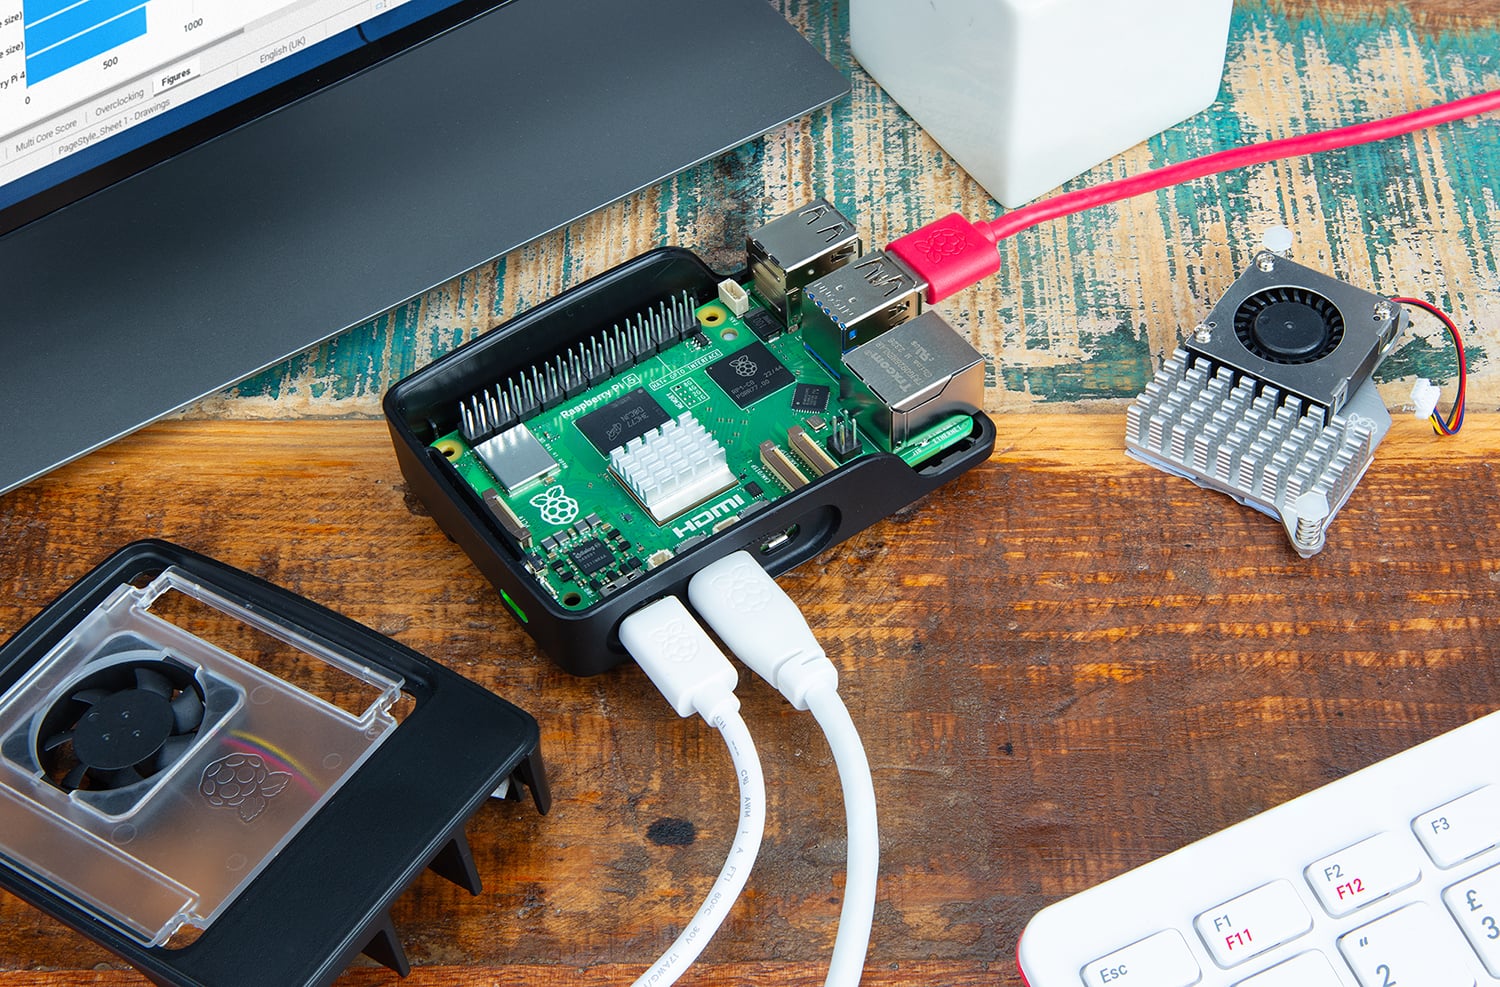
Running OpenClaw on a standalone device like a Raspberry Pi is a great way to mitigate these security concerns. You gain isolation, control, and peace of mind, all while benefiting from a system that’s always on, energy efficient, and quietly ‘doing’ in the background.
Installing OpenClaw
On a freshly installed and updated Raspberry Pi OS, run the following terminal command:
curl -fsSL https://openclaw.ai/install.sh | bashThis will install everything you need and take you through the setup process.
Nice day for a wedding photo booth
As an illustrative example, I’ll share my own first OpenClaw experiment using a Raspberry Pi: a wedding photo booth. You know the type — guests step up, photos are taken, and then they’re instantly shared. I’d previously built one myself in Python (though “built” might be generous). It worked, but it wasn’t pretty.
Later, I experimented with ‘vibe coding’, copying and pasting code between ChatGPT and my Raspberry Pi’s file system. The outcome was much better than my original attempt, but it still required a fair bit of time and manual effort.
Finally, I decided to give it the OpenClaw treatment. I installed the agent on my Raspberry Pi 5 (though a Raspberry Pi 4 with 8GB of RAM works well too), added a VPN service (Tailscale integrates seamlessly with OpenClaw), and configured my OpenAI API key as the primary AI provider.
Next, I set up a fresh installation of Raspberry Pi OS on another Raspberry Pi, which I planned to use as the brains of my photo booth with a Raspberry Pi Camera Module 2 attached. I provided OpenClaw with my login credentials for the Raspberry Pi 5 and asked it to SSH into the device.
From there, I simply chatted with OpenClaw in plain English, explaining exactly how I wanted the photo booth to behave with simple prompts like “Change the font to…”, “Centre the text…”, and so on. Within just a couple of hours, I had created this:
Everything was completed without a single Bash or Python command, and no coding on my part whatsoever. The AI agent created all the necessary files, built the webpage, configured the Wi-Fi hotspot for photo downloads, and set up admin access. From start to finish, it handled everything I needed.
Top tip:
We recommend using a high-quality SD card for your OpenClaw build. Better yet, you could add an M.2 HAT+ and run the OS from an SSD (just use ‘SD Card Copier’ in ‘Accessories’ on Raspberry Pi OS). This makes OpenClaw super snappy.
Using OpenClaw offline
By connecting OpenClaw to a locally hosted model via tools like Ollama, llama.cpp, or LocalAI, all reasoning and processing can happen directly on your Raspberry Pi, keeping your data private, reducing latency, and eliminating API costs. While local AI models may not always match the raw capabilities of large cloud-based models, they excel at fast, iterative tasks and can be combined with cloud providers as an intelligent fallback.
PicoClaw on Raspberry Pi Zero 2 W
While OpenClaw is a powerful AI system for managing workflows and tools, PicoClaw is a slimmed-down agent designed to run locally and execute tasks on minimal hardware, making it perfect for devices like Raspberry Pi Zero, Raspberry Pi Zero 2 W, or Raspberry Pi 3. Since these boards don’t use LPDDR4 memory, you can build an AI agent that’s insulated from supply constraints and price fluctuations in that market.
To try it out, I installed PicoClaw on a Raspberry Pi Zero 2 W and, 30 seconds later, created a test webpage…

The shift towards edge-driven intelligence
Starting with something as simple as hosting webpages quickly shows that OpenClaw is less about replacing tools and more about changing how we interact with them. Tools like OpenClaw, whether they’re used for testing new concepts, managing infrastructure, or supporting real-world deployments, illustrate the potential for shifting inferencing from cloud-based LLMs to low-cost, local devices like Raspberry Pi.
The post Turn your Raspberry Pi into an AI agent with OpenClaw appeared first on Raspberry Pi.
from News - Raspberry Pi https://ift.tt/8H5R2fi
Labels: News - Raspberry Pi, IFTTT

0 Comments:
Post a Comment
Subscribe to Post Comments [Atom]
<< Home